SCALE-MAIL
WARNING!
Following this tutorial may cause severe eye strain and potential brain damage due to the sheer tedium and repetitiveness. I take no responsibility if you’re forced to buy new glasses or enter a mental institution. Sculpt at your own risk!
Following this tutorial may cause severe eye strain and potential brain damage due to the sheer tedium and repetitiveness. I take no responsibility if you’re forced to buy new glasses or enter a mental institution. Sculpt at your own risk!
STEP ONE:
|
I start with Procreate Putty (a 2 part putty primarily used for miniatures). The great thing about it is you can alter the ratio to create a rigid or flexible end product. I like to use 60/40 (the box gives more information) to keep the putty slightly flexible even after it’s fully cured. This is also what I use for removable armor and hair but that’s for another tutorial!
|
STEP TWO:
|
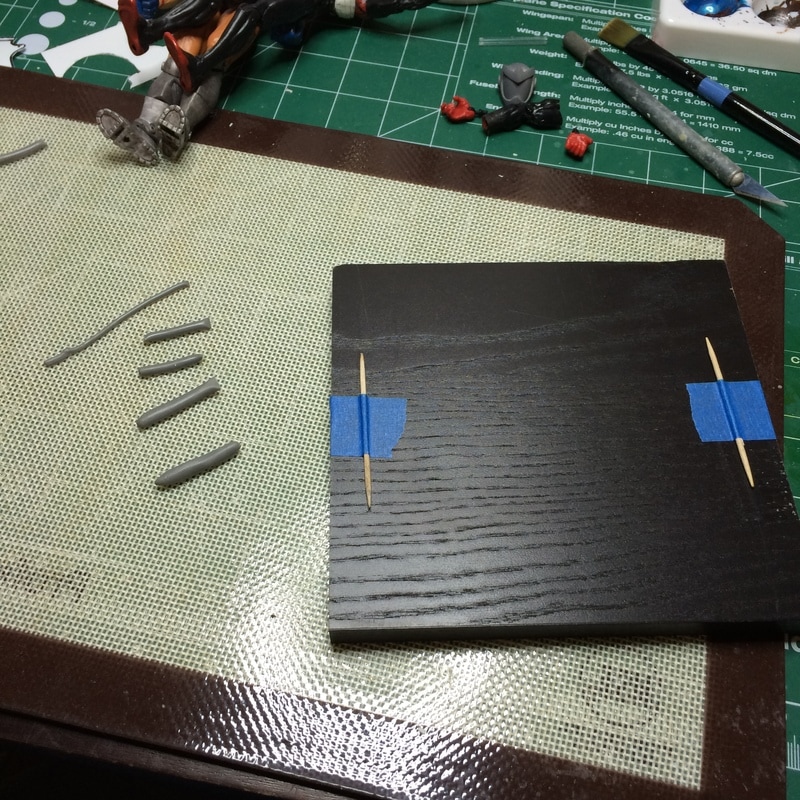
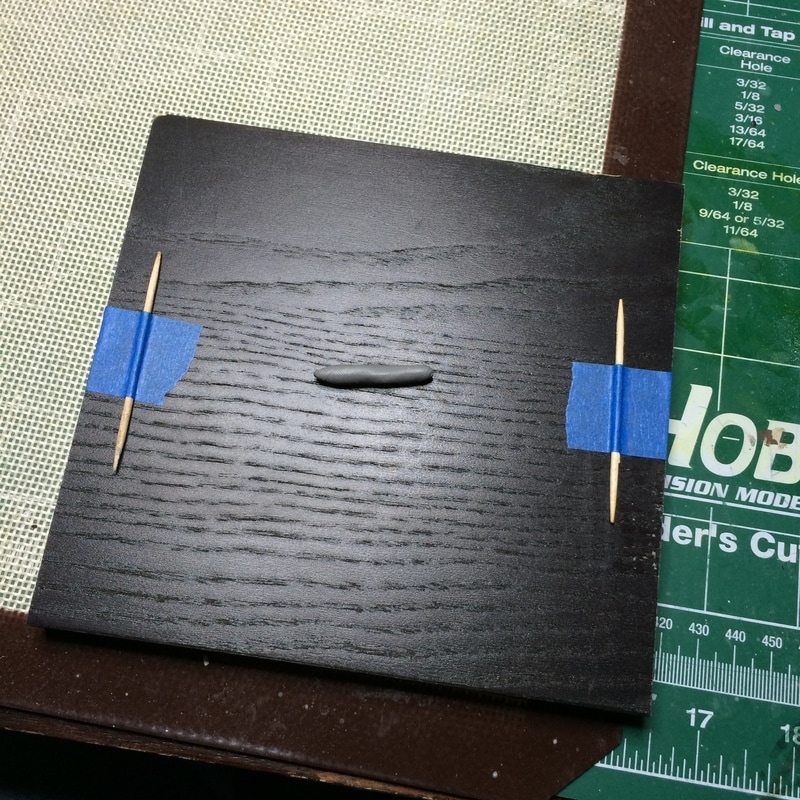
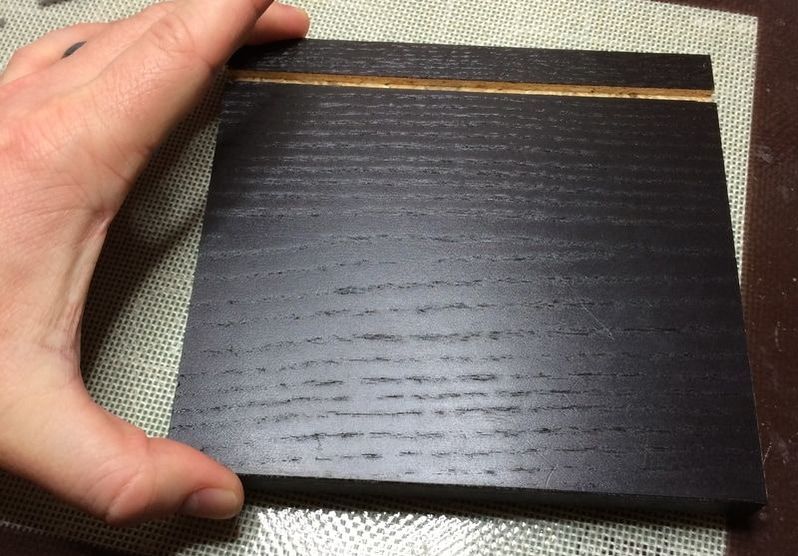
I’ve used a small Ikea removable bookshelf but any rigid flat surface will do. Take two toothpicks (or anything that is the thickness you want your “scale” to be) and tape them to the underside of the board. NEXT, Roll out your putty into a rough “worm shape".
|
STEP THREE:
|
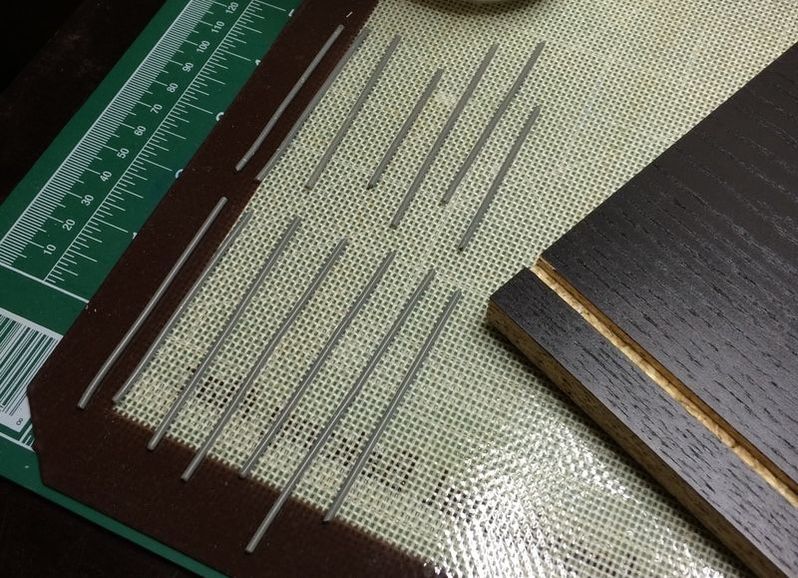
You see me rollin’! Turn the board over and start slowly rolling out the putty. Don’t press too hard or you’ll just flatten the piece out like a piece of linguine. Keep rolling until you can feel the toothpicks rubbing evenly against your mat. (BTW I use a silicone baking sheet to keep the putty from sticking). This means your putty is now the exact size/radius of whatever you taped to the bottom of your board. Go ahead and make a bunch these as you will most definitely need more, and I mean A LOT MORE, than you think!
|
STEP FOUR:
|
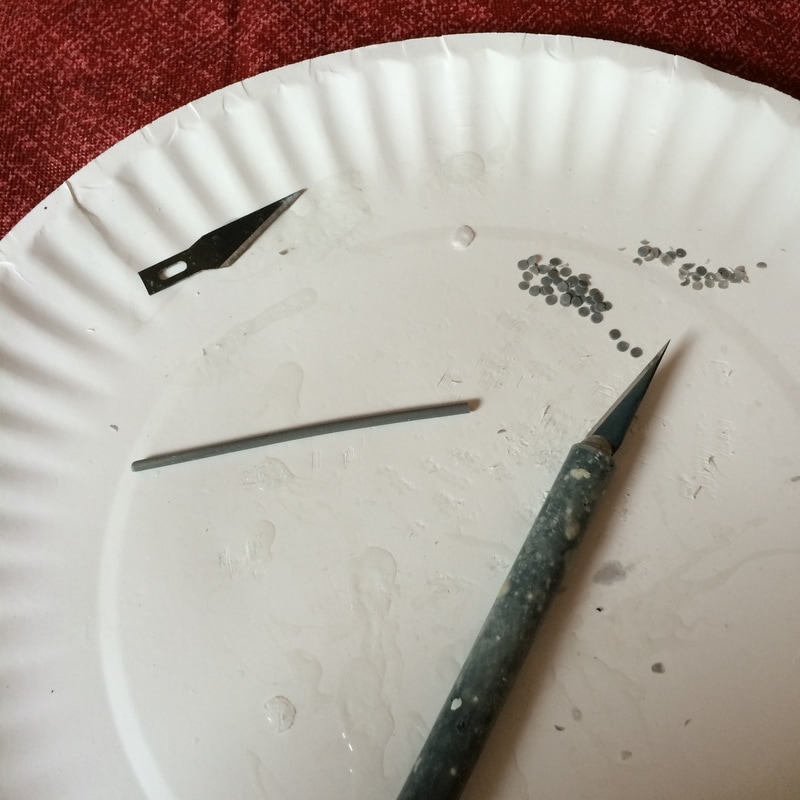
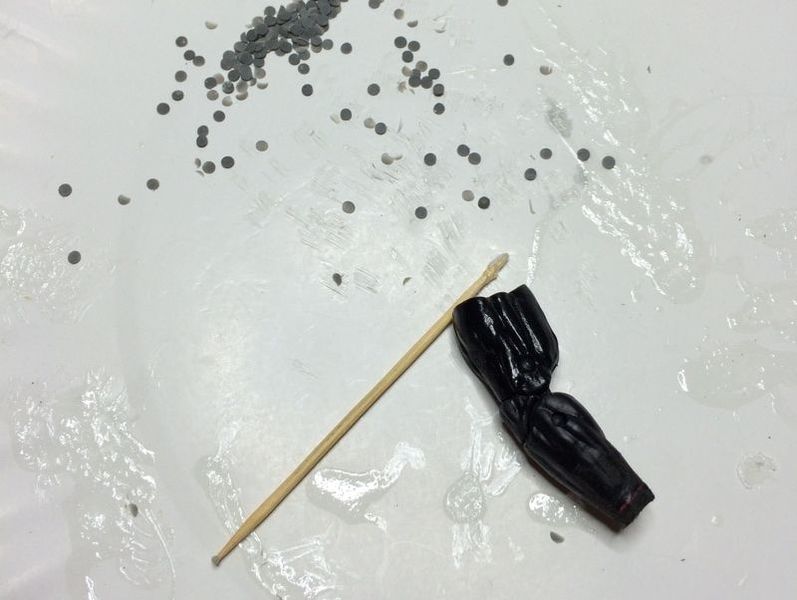
Once your putty has fully cured it’s time to play Martin Yan (google him). Take a VERY sharp X-acto knife and start slicing teeny tiny salami slices off of your perfectly rolled putty. The technique here is just like a chef cutting veggies. Use your off hand and finger nails to guide the blade. This will help get the thinnest cuts possible while preventing any unwanted injuries. You’ll probably end up with a few stray half-circles because of your knife slipping but don’t worry, you can use those in the next step.
|
STEP FIVE:
|
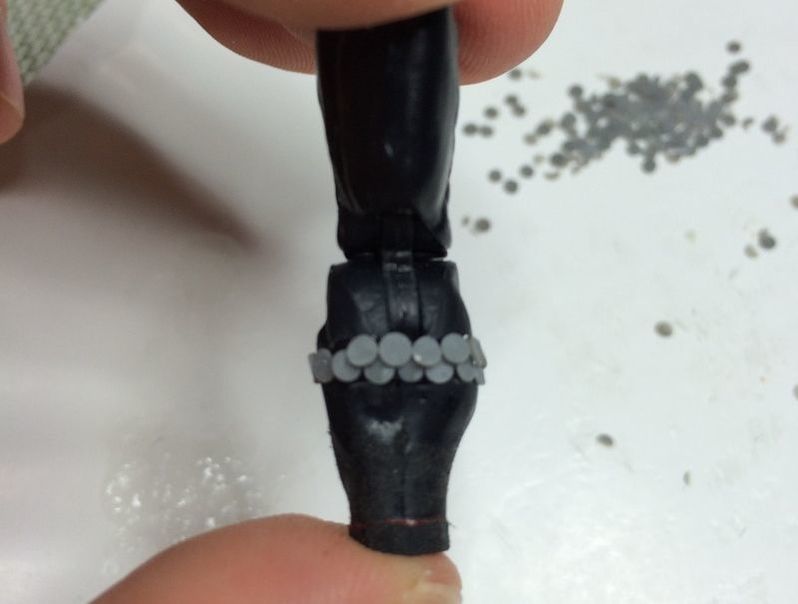
Well if you didn’t think that was painful enough now comes the really tedious part. Get a really good hobby quality super glue and start laying out your tiny circles around your figure starting from the bottom. Stagger the next row and keep building up and up and up. I use a toothpick, one end for applying glue and the other end for picking up the tiny circles. It’s gross but I lick one end to help lift each piece. Just make sure you don’t lick the end with super glue on it! When you reach a joint or a break point in the sculpt is when you can start using those half-circles, giving the mail a nice clean finish.
|
STEP SIX:
|
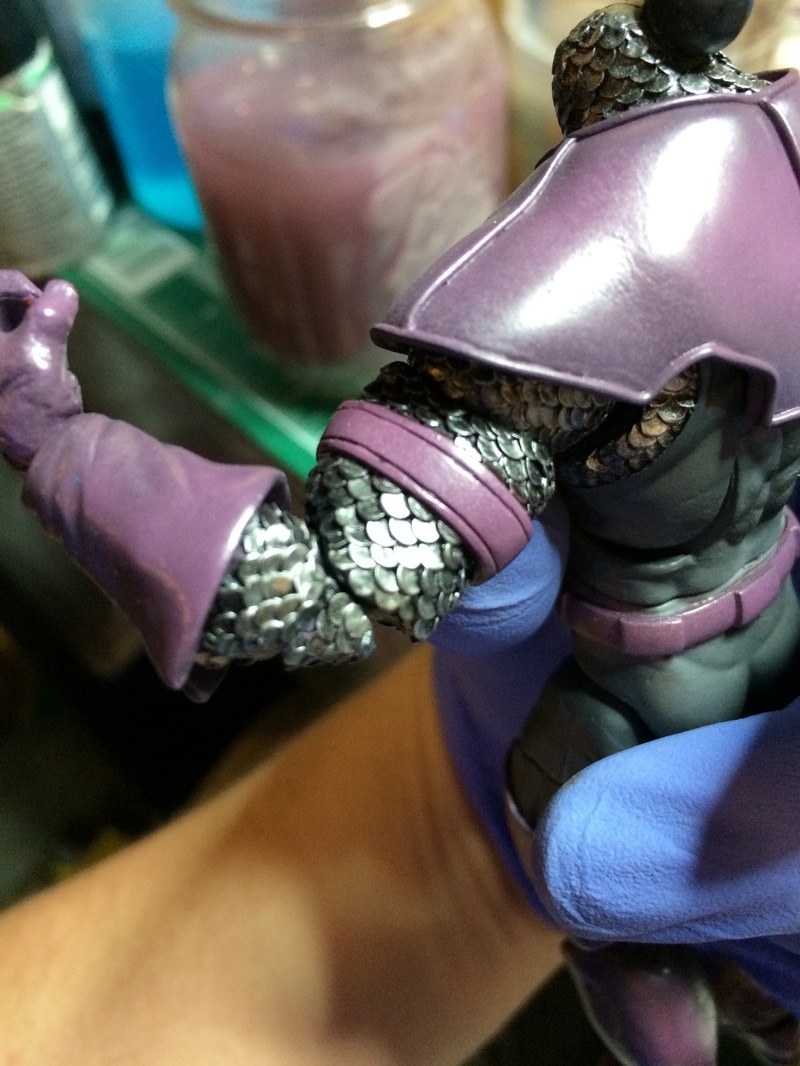
Paint it up! For this figure specifically I did a black base coat and then dry brushed several coats of silver.
|
And if that wasn't good enough for ya, I've also made this handy dandy little video showing the process in action.
Congrats, you’re done! I’m sure that only took 15-20 short and highly enjoyable hours. Hopefully your eyes aren’t bleeding too badly at this point. Now revel in the glory that is your newly armored action figure!
