CUSTOM 1:18-1:12 scale weapons
Unless you're buying expensive imports, most toy companies of today are notorious for being stingy with weapons and accessories. They probably think they're being clever when they include the same dumb circley blasty thing with every other figure, but we know the truth. They're just being cheap! Hell, Hasbro probably keeps Hydrox in the beak room, those frugal bastards. But fear not! With a little putty, and a double stuffed load of patience you can make your very own unique weapons.
STEP ONE:
|
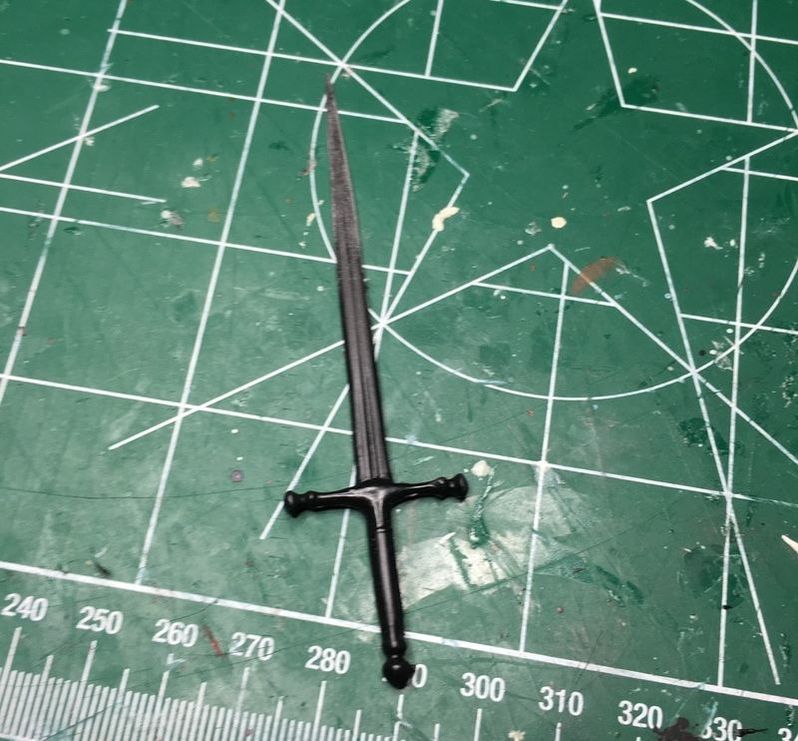
Find a base weapon. You could use wire and make an armature of the weapon or sculpt everything from scratch but I find using a base weapon slightly easier. I also prefer in most cases to keep the plastic hilts and handles as they're less likely to snap off or chip when cramming them into a figure's hand.
I've started off with a pretty basic sword here, and trimmed it down to the length I wanted. |
STEP TWO:
|
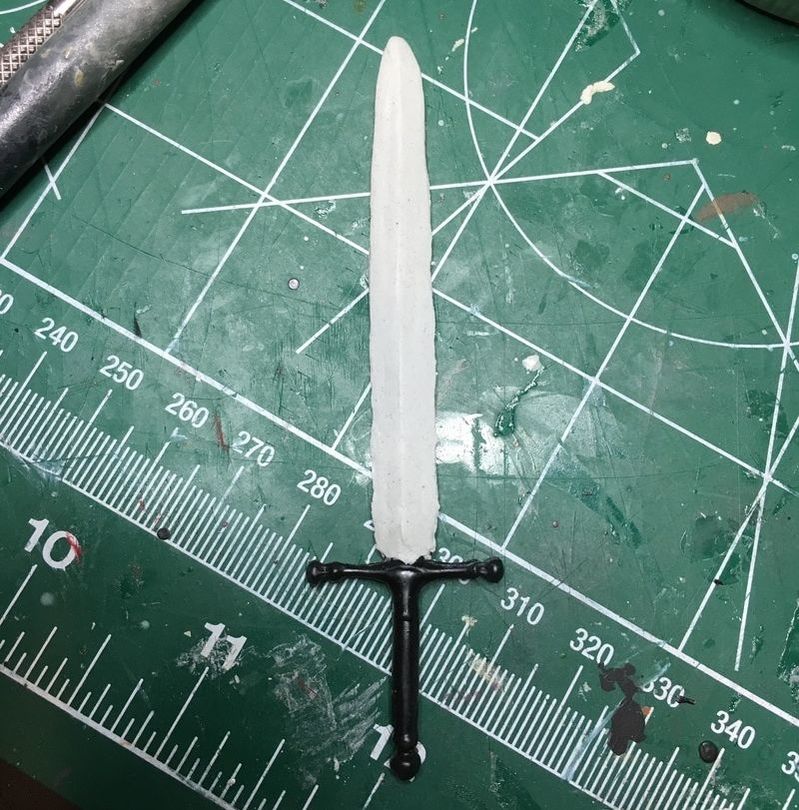
Glob on some Aves Apoxie Sculpt or the putty of your choosing. The important thing here is to just get the general shape of the weapon and an even coating over the base. I find it way too hard to actually sculpt a clean sharp weapon at this point. You push on one side of the blade and it bends the other. You could wait until the Aves cures a bit but by that time you'll only be left with about an hour of sculpting time, which is about 1/6th of what I need on a project like this. Yeah... I know. I'm slow.
|
STEP THREE:
|
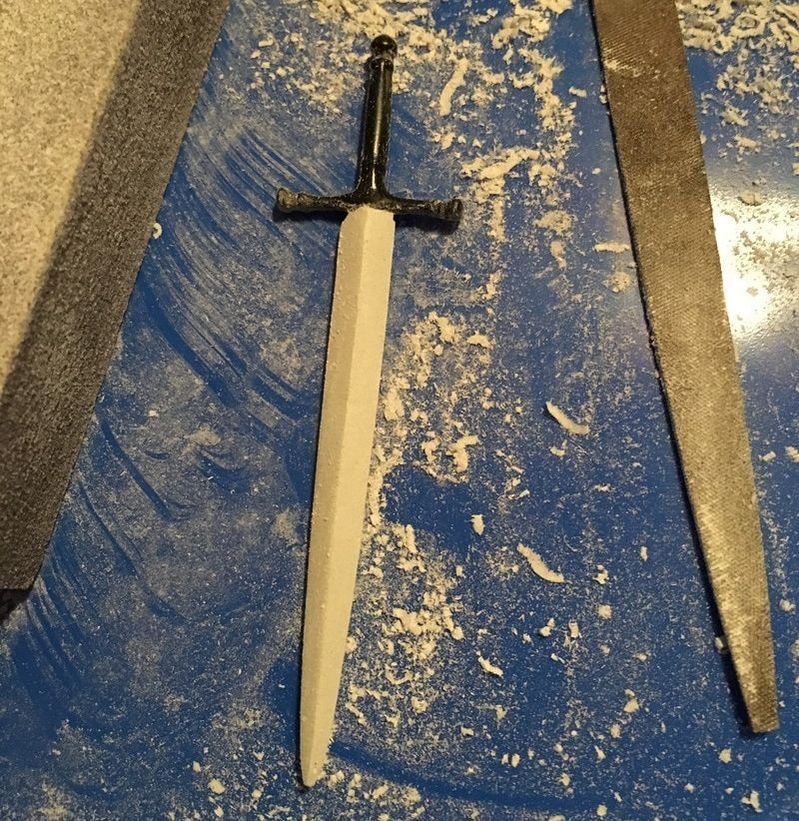
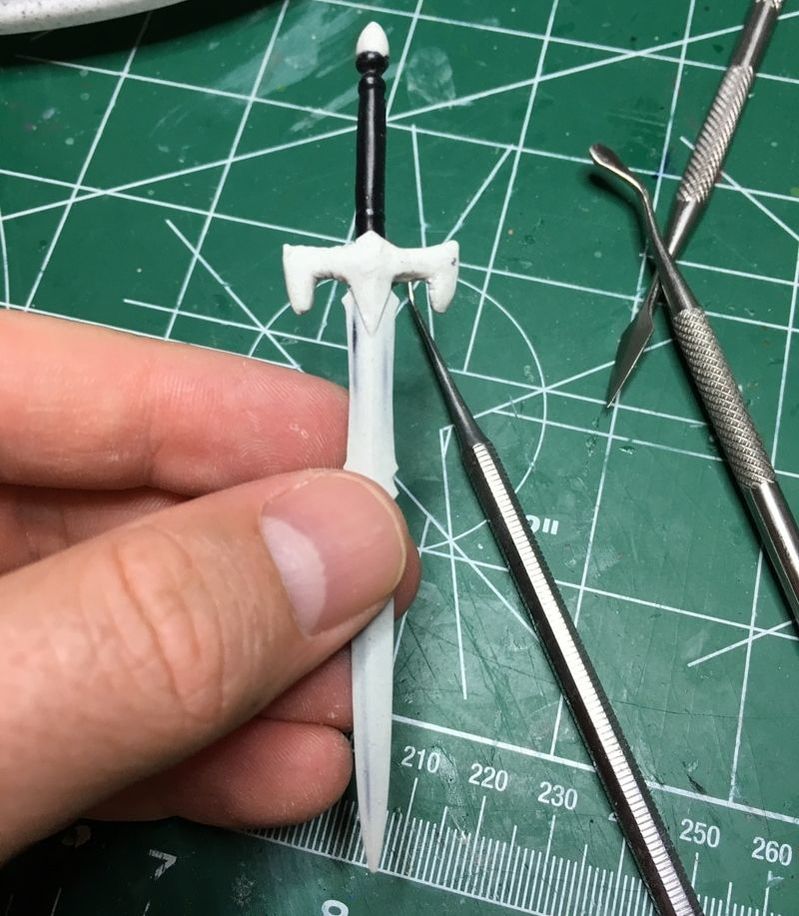
Once the sculpt has cured grab a few sanding or filing tools and a nice brand spankin' new x-acto blade. I typically use a sanding block (used for drywall) and a few small needle files. I also have some sanding sticks you can find at your local hobby shop. Start to sloooowly sand and whittle your weapon to life. Hold the x-acto at like a 45 degree angle and drag it across the sculpt to create nice clean lines. . This takes a lot of time and patience. It's better to go slow than to take too much off and have to start over.
Little.... by little... by little... your weapon will start to take shape. You'll be surprised at just how sharp you can actually get blades and points. Just remember, making anything too thin will just leave it fragile. Also be careful not to sand/carve so much away that you start to hit the plastic of the base weapon below. Once you hit plastic it's time to stop. |
STEP FOUR:
|
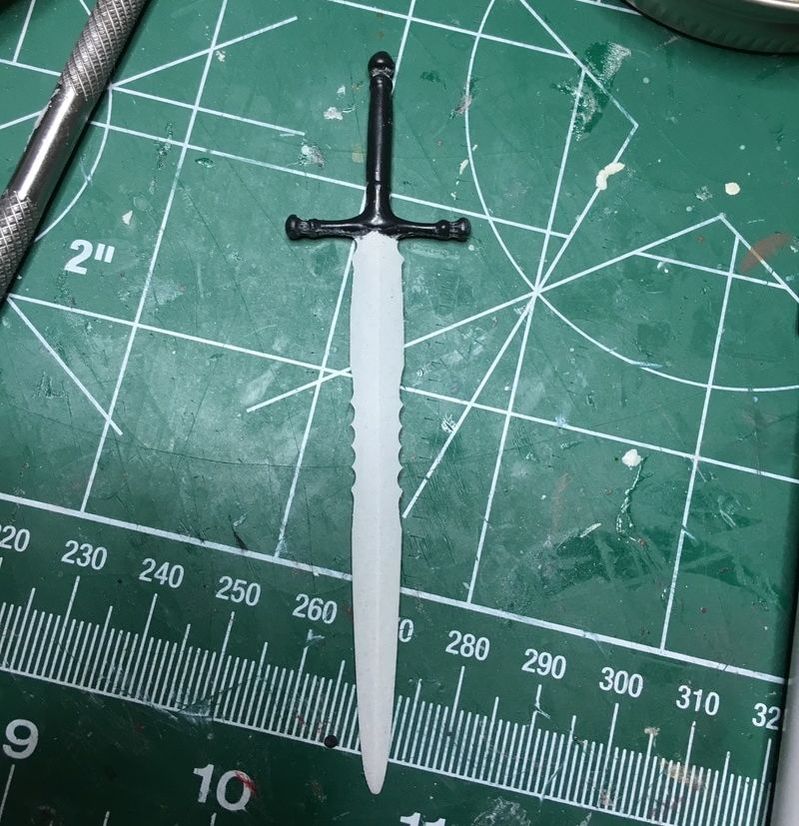
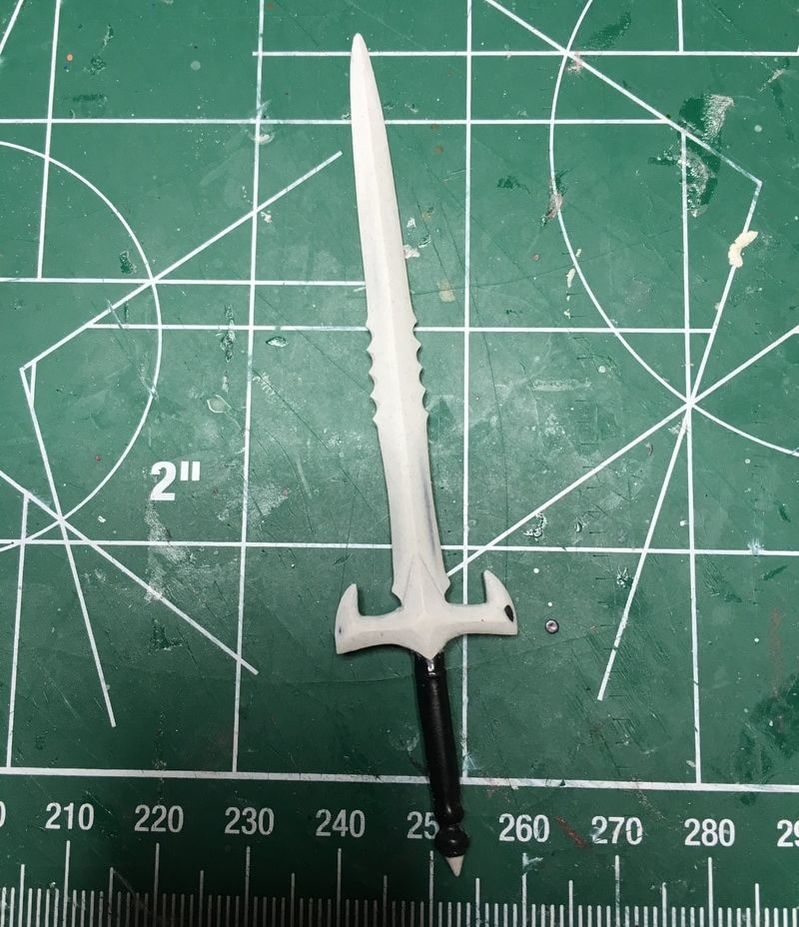
Now's the time to start adding details if necessary. Don't try to carve in things like overlapping layers, just get the first layer where you want it, then add more putty and begin carving away again.
|
|
Continue carefully carving, shaving, and sanding until your weapon is complete. Here I've added a guard and a little spike to the pommel.
|
|
|
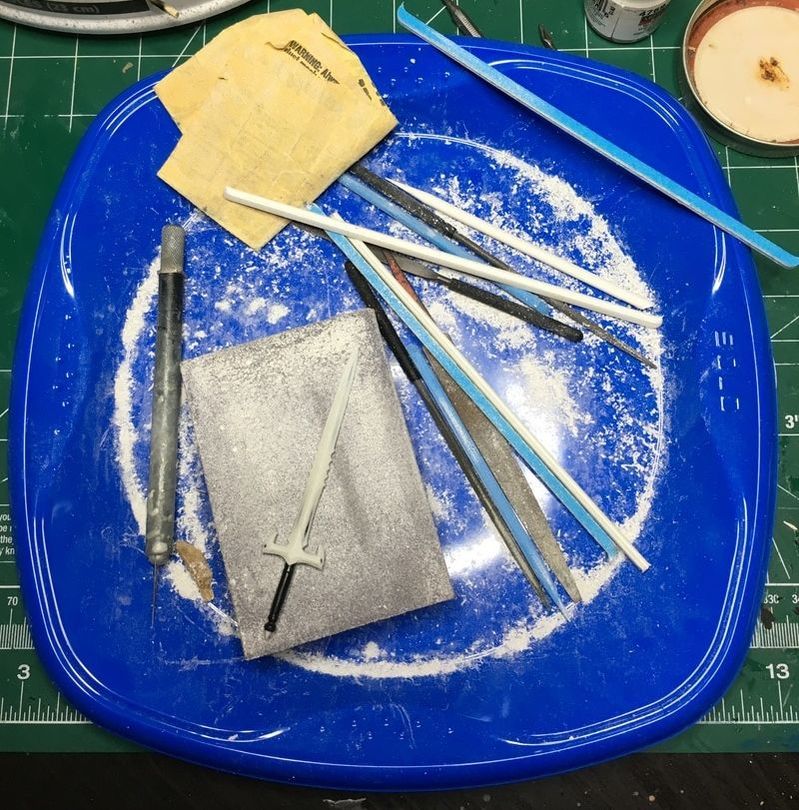
At this point your work station should look like a winter wonder land, or a party at Tony Montana's house. Try not to snort any of it. It probably causes cancer. Make any final adjustments before you get ready for prime and paint.
STEP FIVE:
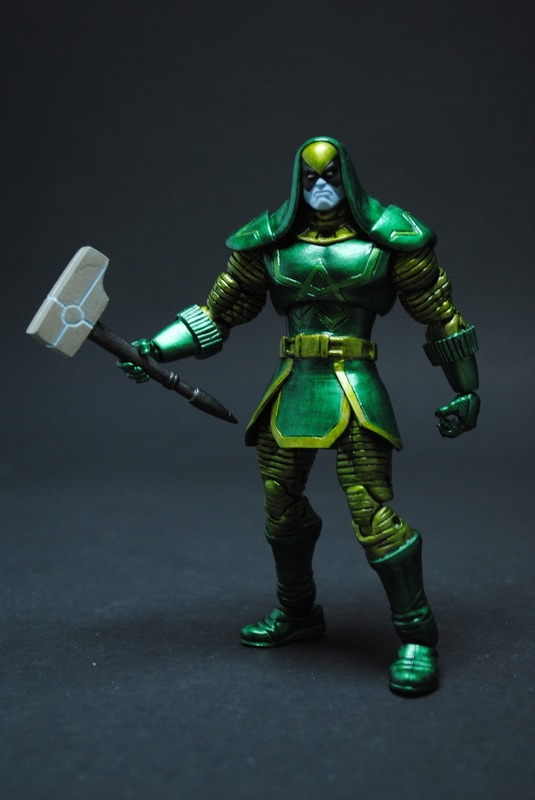
Paint it up! It's best to add a couple extra layers of clear coat, especially on the handle.
|
|
|
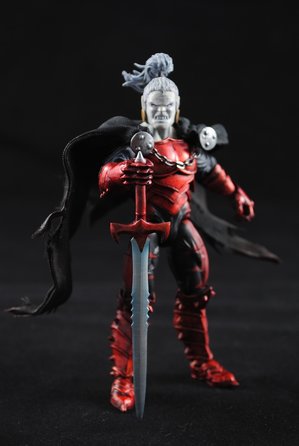
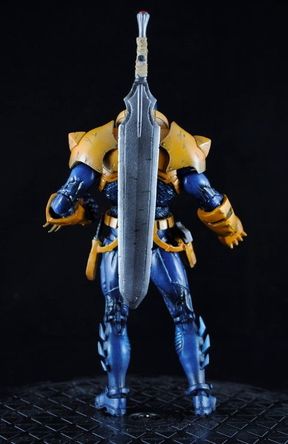
Congrats, you’re done!
If you have any questions or just want to see if I'm mentally stable feel free to leave a comment below!
If you have any questions or just want to see if I'm mentally stable feel free to leave a comment below!