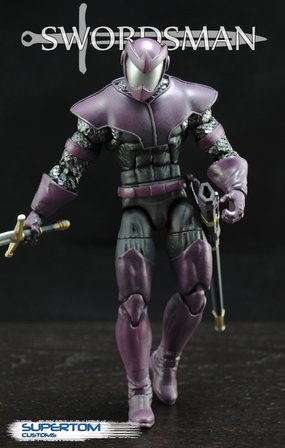
Removable/flexible armor
WARNING!
Following this tutorial may cause moments of pure terror followed by uncontrollable anger. Deep breathes and whiskey (if you're 21 of course) may be required.
Following this tutorial may cause moments of pure terror followed by uncontrollable anger. Deep breathes and whiskey (if you're 21 of course) may be required.
STEP ONE:
|
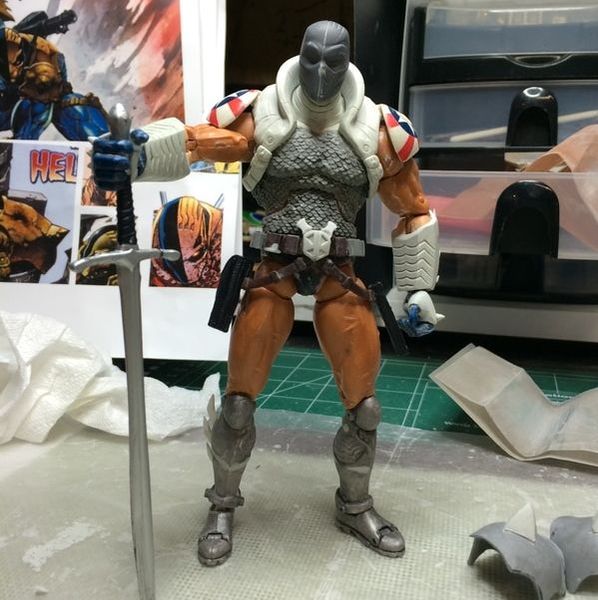
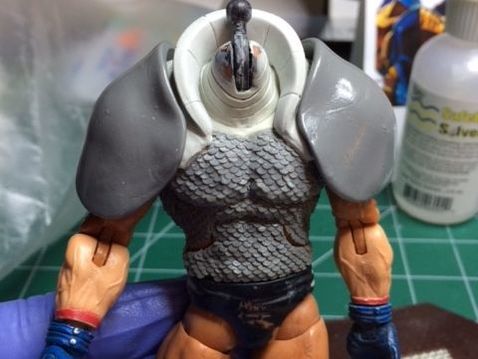
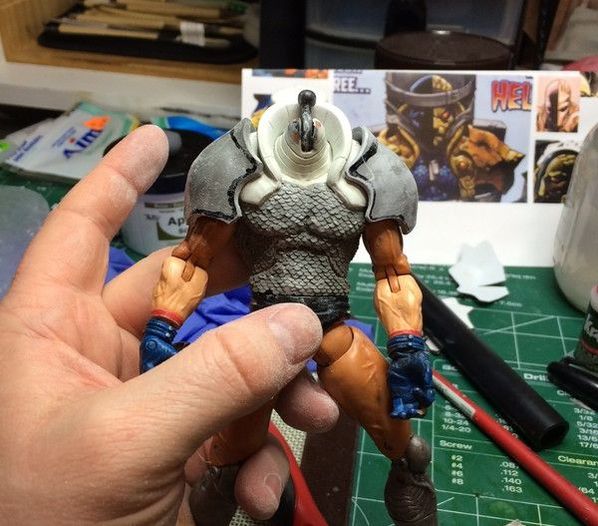
Get your figure ready. Depending on what you're trying to make you need a nice clean surface in which to lay your putty. For Deathstroke here I took the shoulder pads from a superpatriot figure to act as support. Everyone needs a little support.
|
STEP TWO:
|
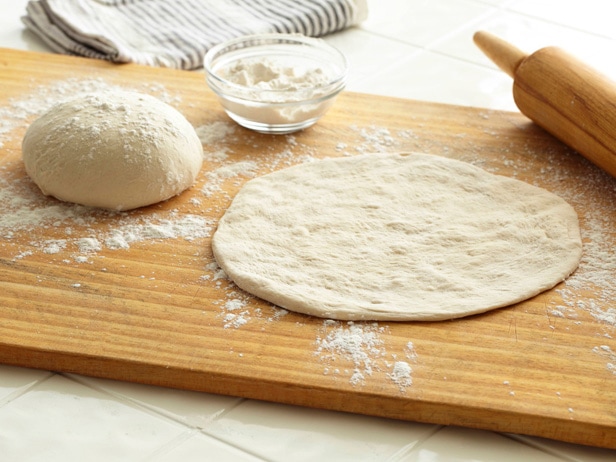
Then take your Procreate Putty (a 2 part putty primarily used for miniatures). I like to use a 60/40 mix (the box gives more information) to keep the putty slightly flexible even after it’s fully cured. Take your mixture and roll it out like you're making a pizza as thick or as thin as you'd like your final armor piece. Yes, I realize there's a picture of pizza dough here but I forgot to take a picture of this step so gimme a break! Plus this is funnier, and pizza is delicious. Oh hell, pizza tutorial coming soon!
|
STEP THREE:
|
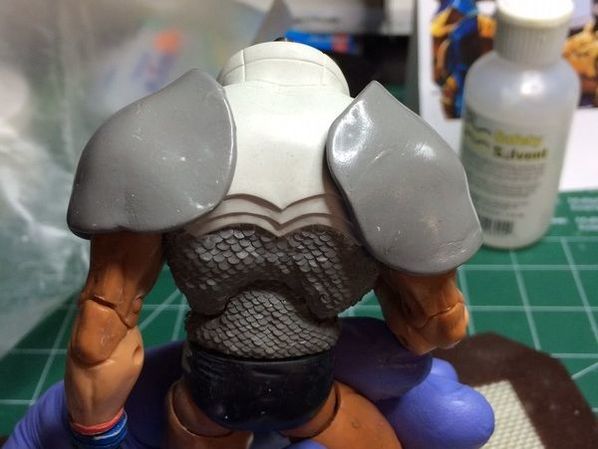
Take your dough, I mean putty, and gently lay it over your figure. Procreate gives you about an hour of work time and it gradually becomes less and less sticky and more rigid. This is critical as you do NOT want the putty to fully adhere to the figure or the next steps will be a giant pain in the ass. So take your time preparing the putty as the less sticky and more rigid it becomes, the easier it is to work with. gently start to manipulate the putty to get the form you want. A big part of this step is envisioning what you want the final piece to look like within the blob you just laid on your figure.
If you want to sculpt some details within the piece now is the time to do so. But just as a warning, procreate makes it very difficult to correct errors. So if you sculpt in a line of detail and screw up, you may have to start back as step two. |
STEP FOUR:
|
Once your putty has fully cured gently pry it off of your figure. Take a marker and draw in the rough shape you'd like the final piece to take. using a VERY sharp X-acto knife cut away the excess sculpt. Then take some sand paper or a dremel and start slowly sanding, smoothing and defining the shape of the piece. High viscosity elbow grease required.
|
STEP FIVE:
|
Continue to sand and smooth out your sculpt to get the perfect shape and texture. Since you're most
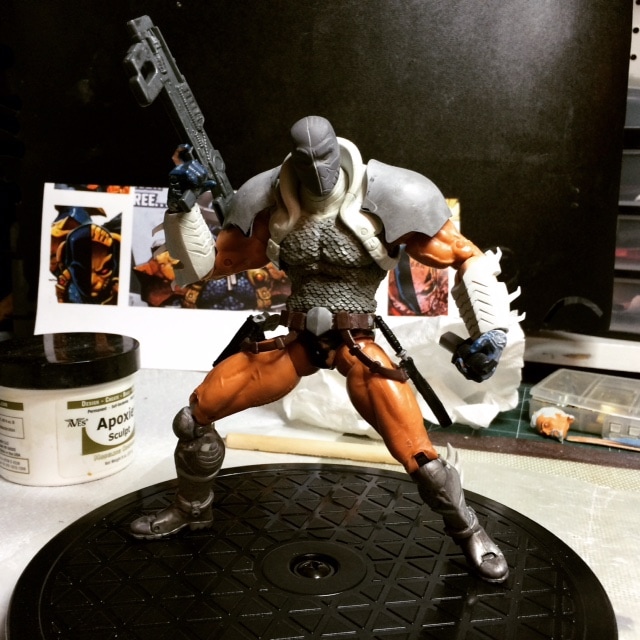
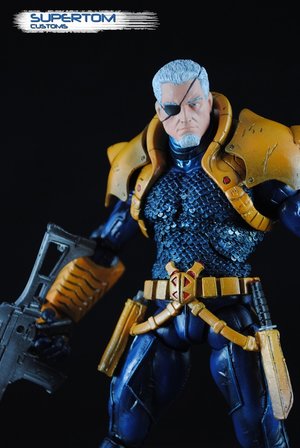
likely trying to replicate metal armor you'll want to use a high grit sandpaper to get a smooth finish. If you weren't daring enough to sculpt in the details, now you can etch some in with a x-acto knife or dremel. You can also add piping, spikes or whatever other details the armor requires. With Deathstroke here I added some weathering/damage effects and a big honkin' spike which you can see in the final pics. |
STEP SIX:
|
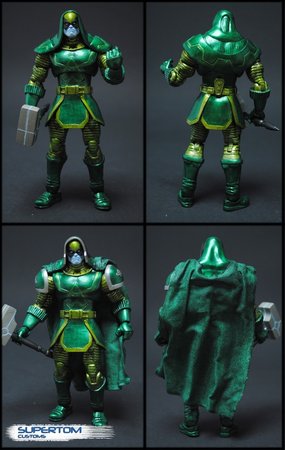
Paint it up! Because you laid the putty directly on the figure it should fit nice and snug. You can decide at this point if you want to keep the armor removable (like my Ronan) or glue it on for a permanent piece.
|
Congrats, you’re done! Now you can freely accessorize without compromise.
