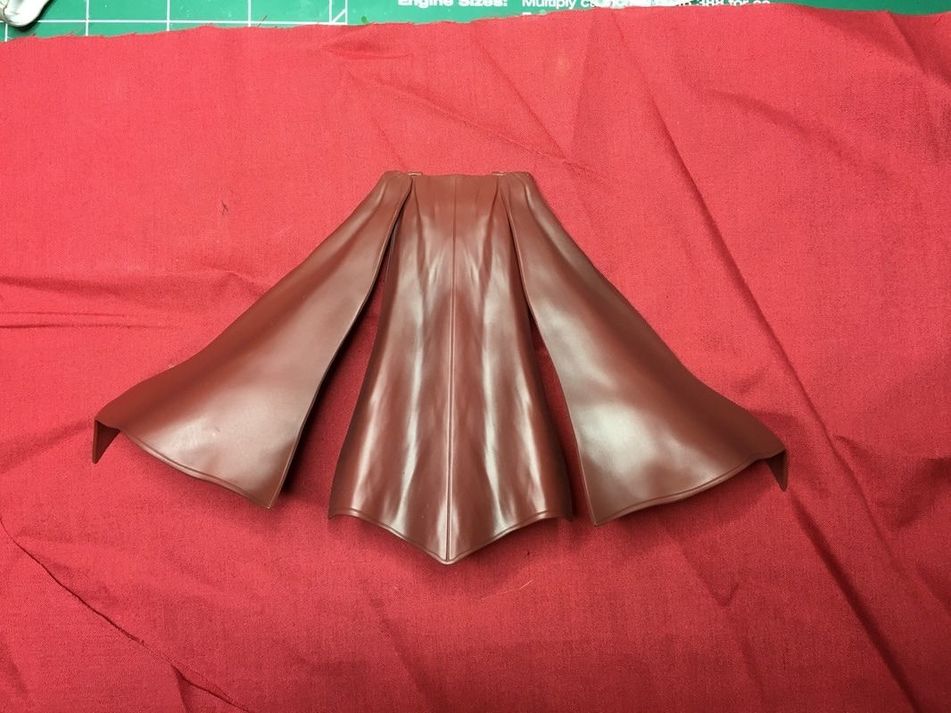
POSEABLE CLOTH CAPES
Are you sick and tired of those weird import, tri-fold, fan-capes? How about your figures constantly falling over because there's an 8:1 ratio of cape vs figure? And posability? PPHHHPFHFFFFF! Gimme a break! If articulation had an arch enemy then capes would be their Doctor Doom. Now I know a lot of people hate soft goods on their figures. But that's mostly because toy companies use the cheapest, crappiest cloth and put zero effort into actually making it look good. So grab your thimble and tell your granny to step aside because it's time to unleash your inner seamstress.
Items you'll need:
|
Fabric (duh)
Needle and thread Sissors Iron |
Fabric Glue
26 gage wire Eyes Will of the Great Dragon |
STEP ONE:First and maybe the most important step is choosing the right material. So mosey on over to your local fabric store (sunglasses and wig optional) and you'll want to find something with a good floppy, weighty feel to it. If you hold it in your hand it should fall between your fingers. If you get some 100% cotton or denim type material it's going to be just as stiff as the plastic one you're trying to replace. Typically a satin, lining fabric, or spandex (think Under Armor) type material will work. But sometimes a cotton-polyester blend will work like the red material I have here. The other important factor is the thickness of the fabric. Take something like what Hasbro uses for the Star Wars Black Series. Now imagine that scaled up by 12 or 18 and it would be like wearing a Persian rug on your back! So like the old knight said at the end of Last Crusade, "You must choose... but chose wisely."
|
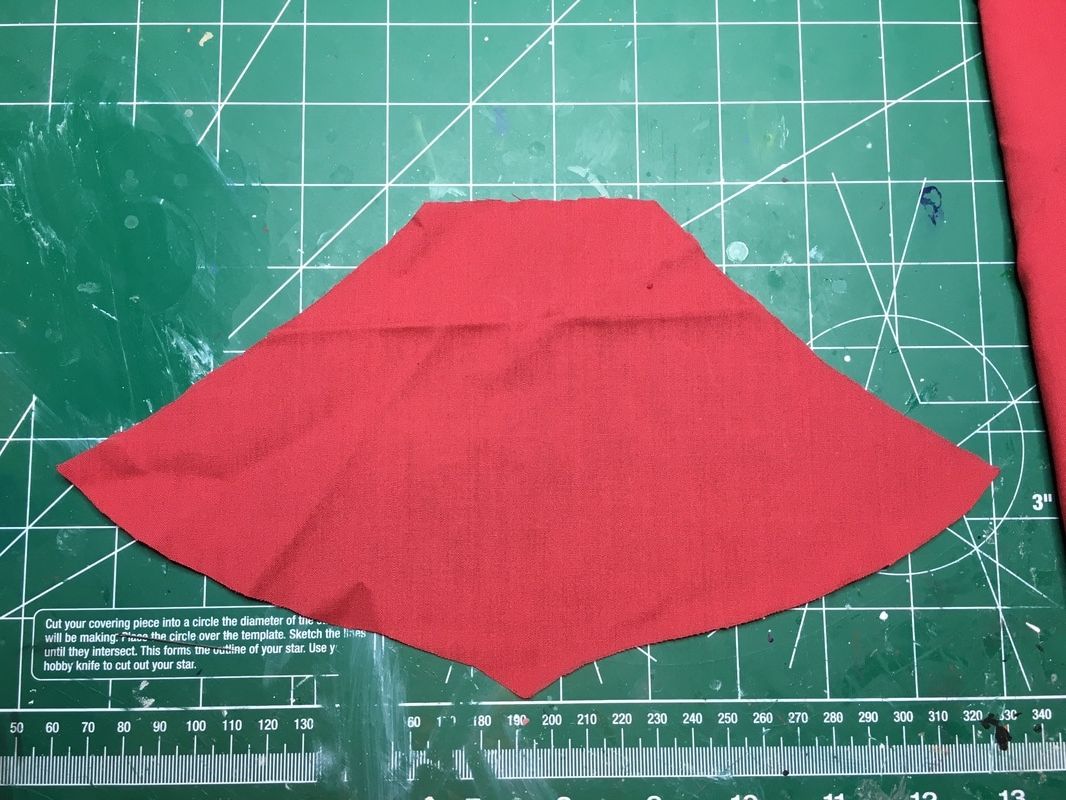
STEP TWO:
|
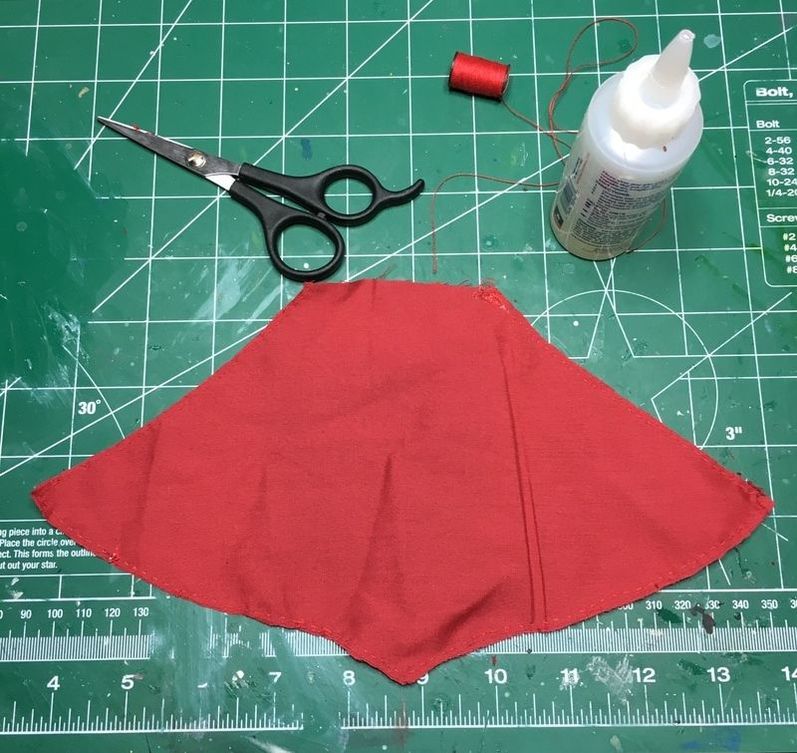
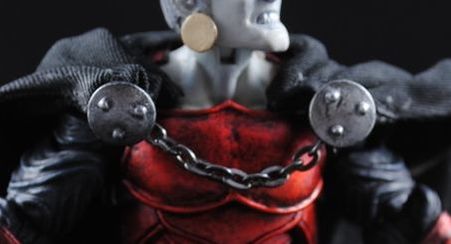
Trace the basic shape of your cape. It's important to make it about 20-30% larger than the plastic one you're trying to replace. If you don't have something to use as a template search online or just lay your figure down on the cloth and draw out your trapezoidal shape making sure the top is about 30% wider than the shoulders. You're going to lose about 1/4" on all sides in a later step and this way you'll have enough material to create a dynamic flowing piece of fabric. Now if you're making a Spawn cape you may want to make it about 5000% larger so it has that 90's EXTREEEEEEME cape look.
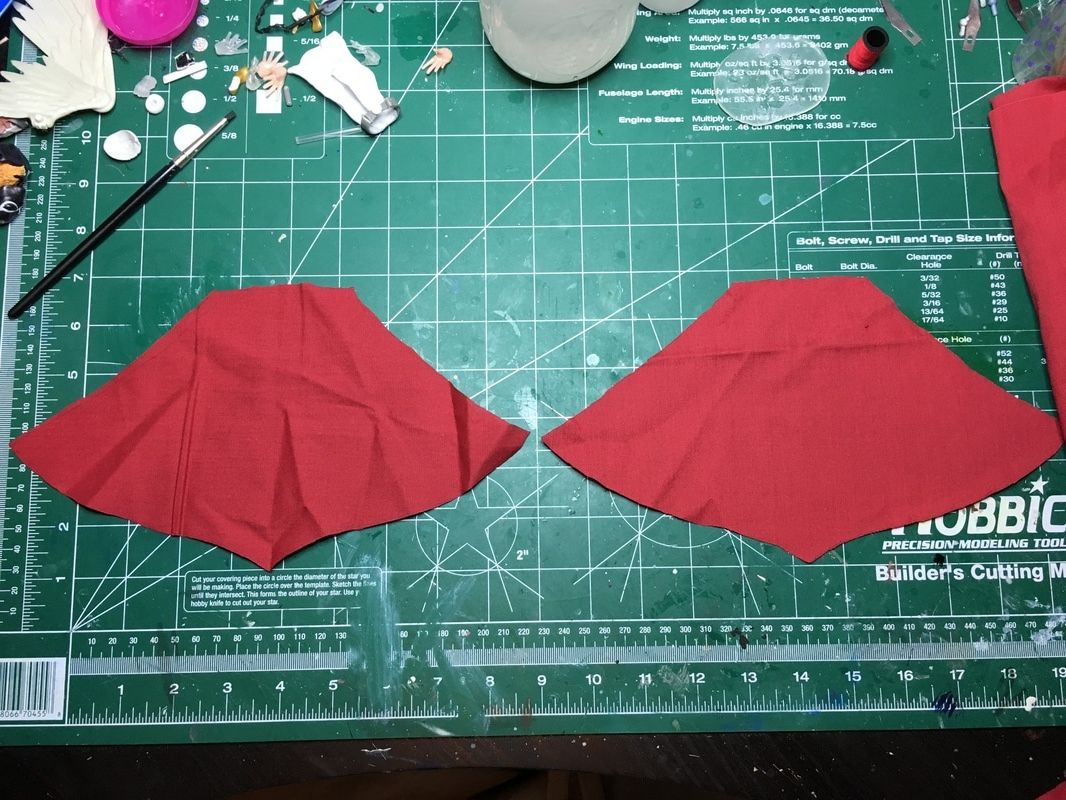
Cut another piece exactly the same size. You can do this all at once by folding the cloth over, just be careful the material doesn't slide around while you're cutting. |
|
|
STEP THREE:
|
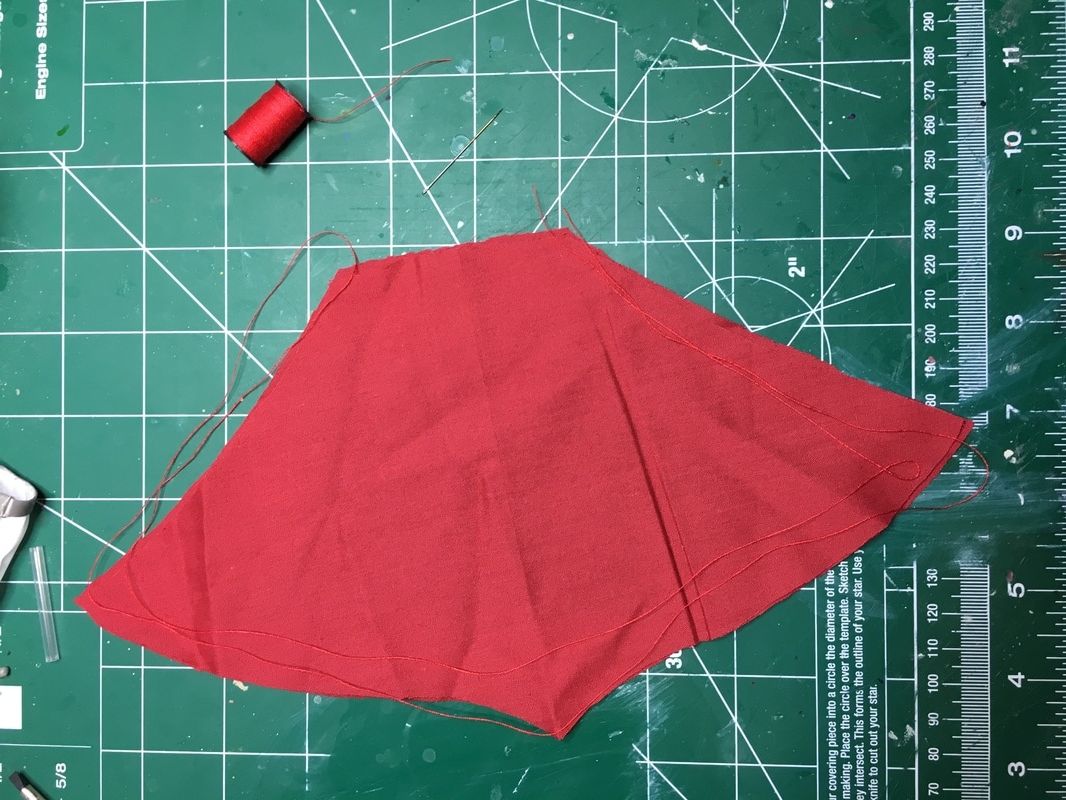
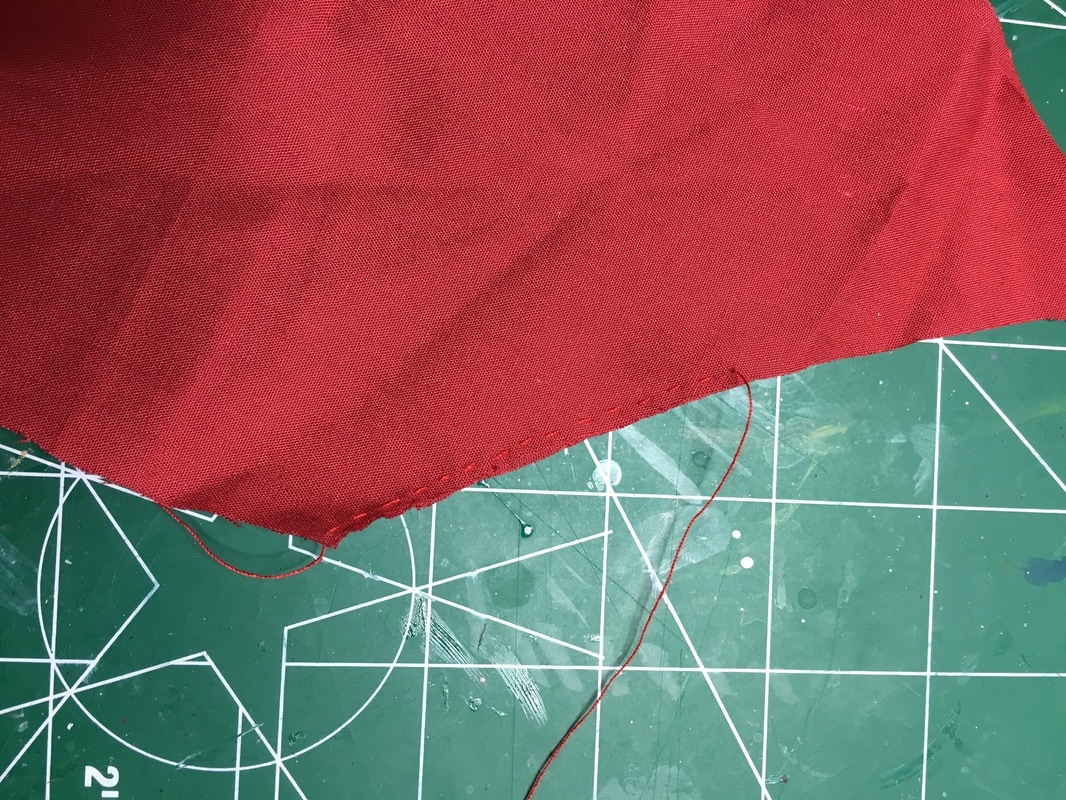
Now take your thread (of the same color) and stretch out a length about twice the perimeter of your cape. You'll only be sewing the sides and bottom.
Tie a tiny knot at the end of your string and start sewing your two halves together about 1/8" from the edge of the fabric. I have no clue what kind of stitch this is so I'm just going to call it a Super Stitch cause that sounds awesome. I'm sure there's better, more professional methods and if you have a sewing machine handy this whole process would be a whole helluva lot faster. But this worked well for me. Now, sometimes I'll do this entire process just using a fabric glue. It's a bit messier but it can be done. I'll still be using glue on this cape too. More on that later. |
|
|
STEP FOUR:
|
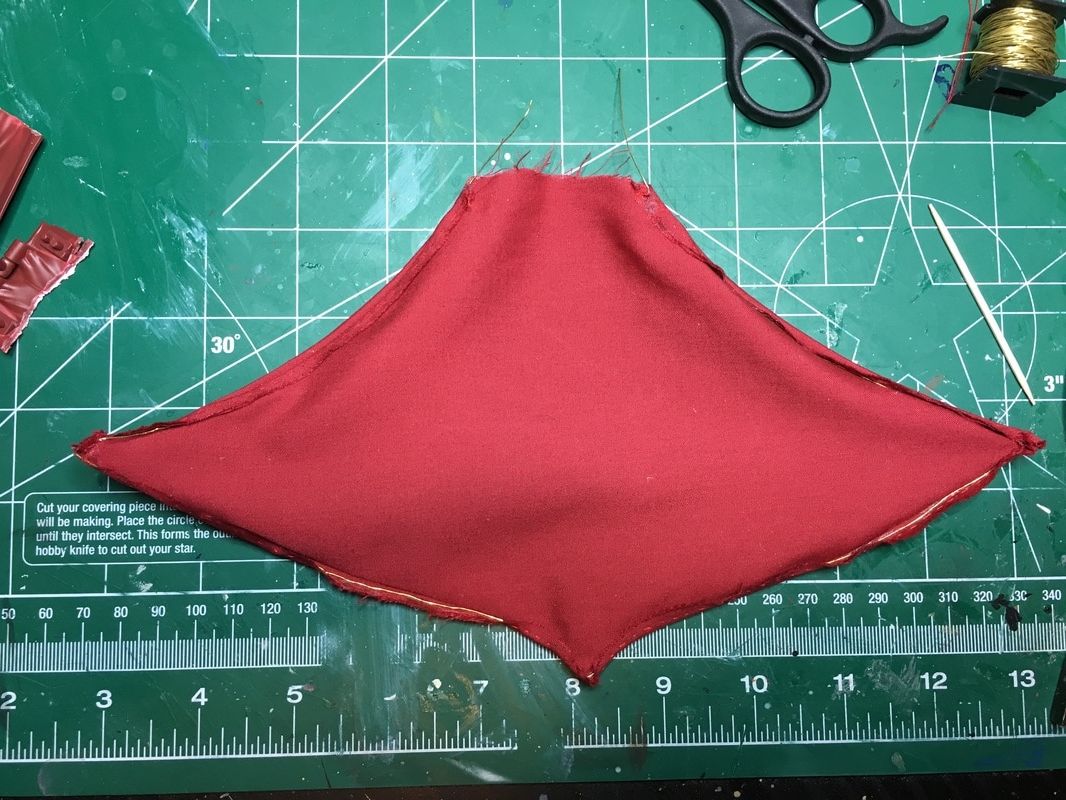
Now that your edges are all sewed up, tie off (or glue) the end of your stitching . Using the side you didn't sew shut, flip the entire thing inside-out.
This can be a total pain in the bunghole so I like to use a bamboo skewer to help push out the corners or any other points. Once you have it completely inside-out give it a good press with an iron making sure to get the folds as close to the stitching as possible. 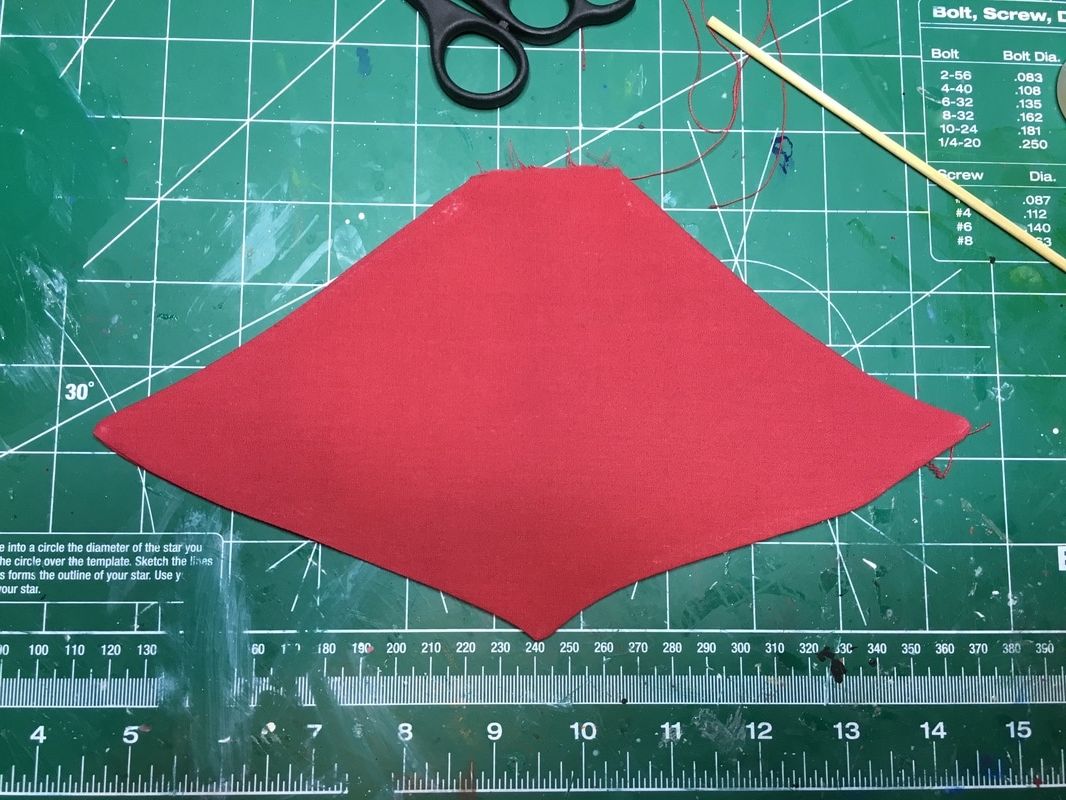
|
STEP FIVE:
|
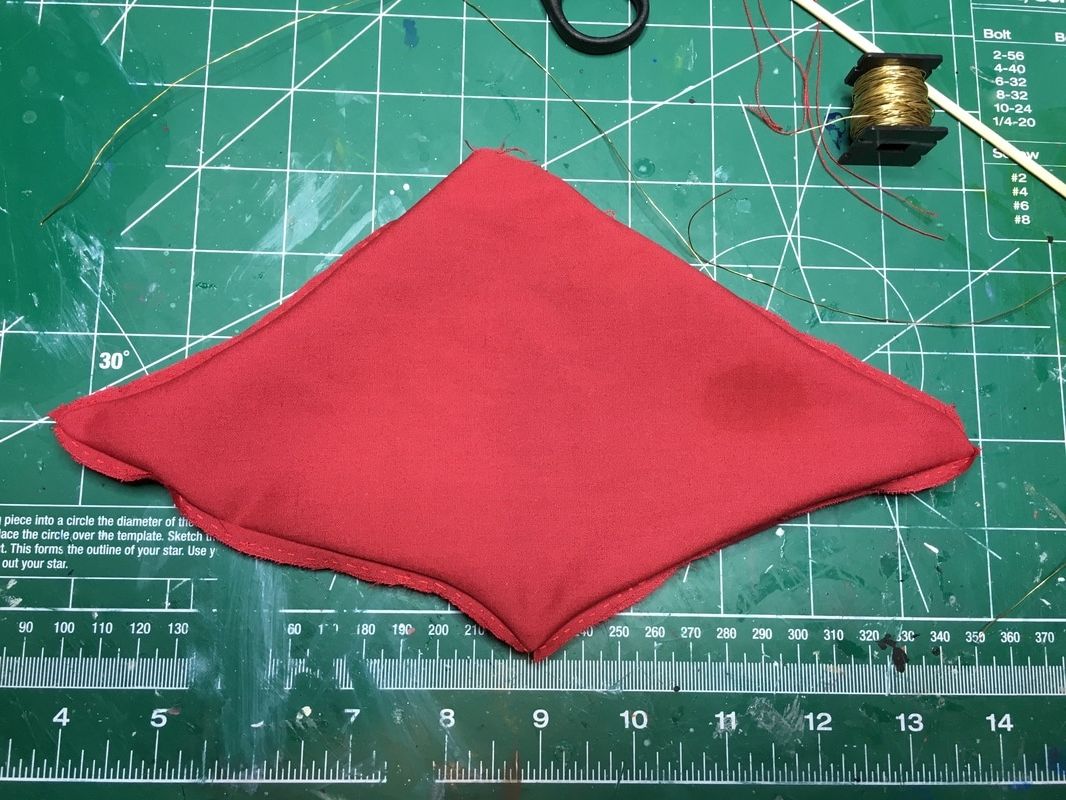
Now that you've done all that hard work flip it back the way you had it. Yeah, yeah, curse me all you want. You'll see why in the next step.
|
STEP SIX:
|
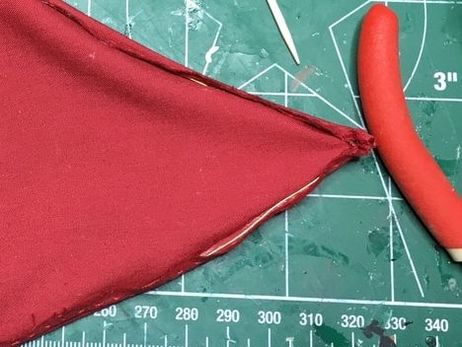
To make the cape poseable you're going to add a very thin wire along the edge. Measure out your wire and snip it everywhere you have a corner in the cape. Here I'm using a 26 gage copper wire. I actually think I salvaged this from an old radio like 20 years ago but you can find similar stuff in the jewelry section of your local craft store. You don't need a really thick wire to get a good amount of posability and a thinner wire actually makes the next step possible.
The goal here is to glue the wire in the crease you just created in the previous steps. I use Fabri-Tac glue but any fabric glue should do. If you're not familiar with fabric glue, it's basically a mix between hot glue and snot. You can thin it with acetone but too thin and it will soak right into your fabric leaving your cape looking like that pair of boxer shorts leaning against your closet door. |
|
|
STEP SEVEN:
|
Now if you thought flipping it inside-out was a pain the first time around, this time is even more fun! Just be patient and work it with the bamboo skewer until you've created nice points at all of your corners.
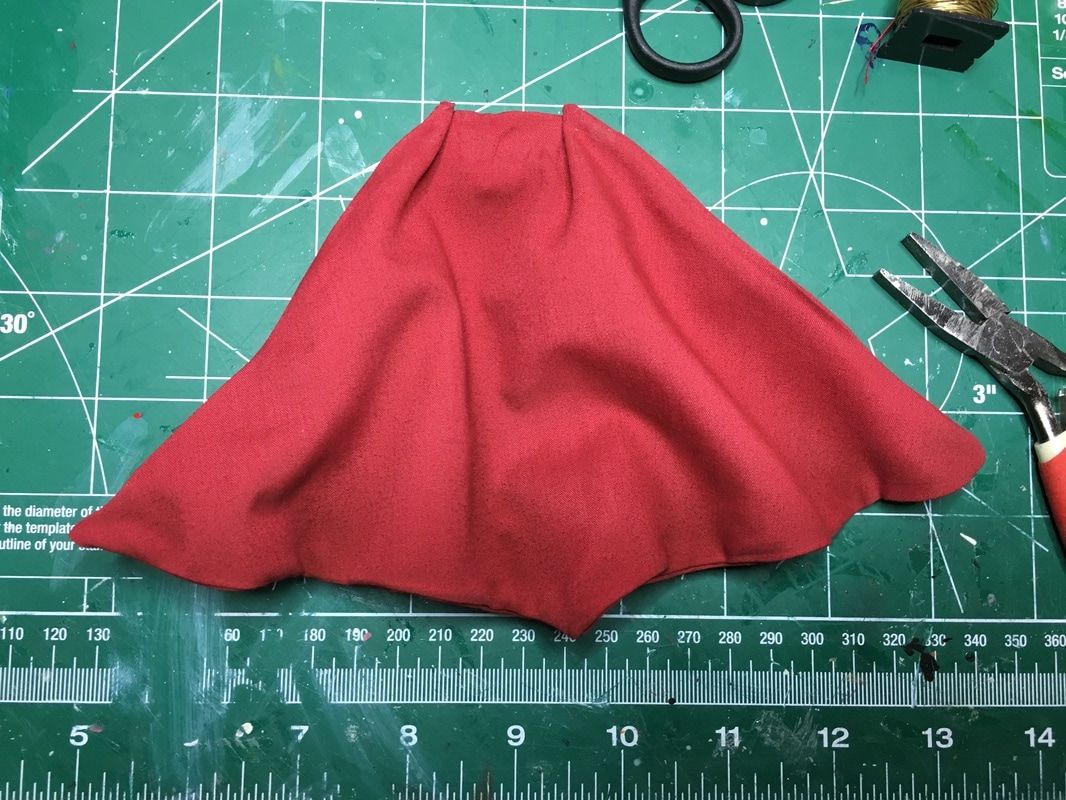
Once you have it completely flipped right-side-out again give it another good press with the iron. The heat will actually reactivate the glue and give it nice crisp edges. Now you can start to pose and fondle your cape. 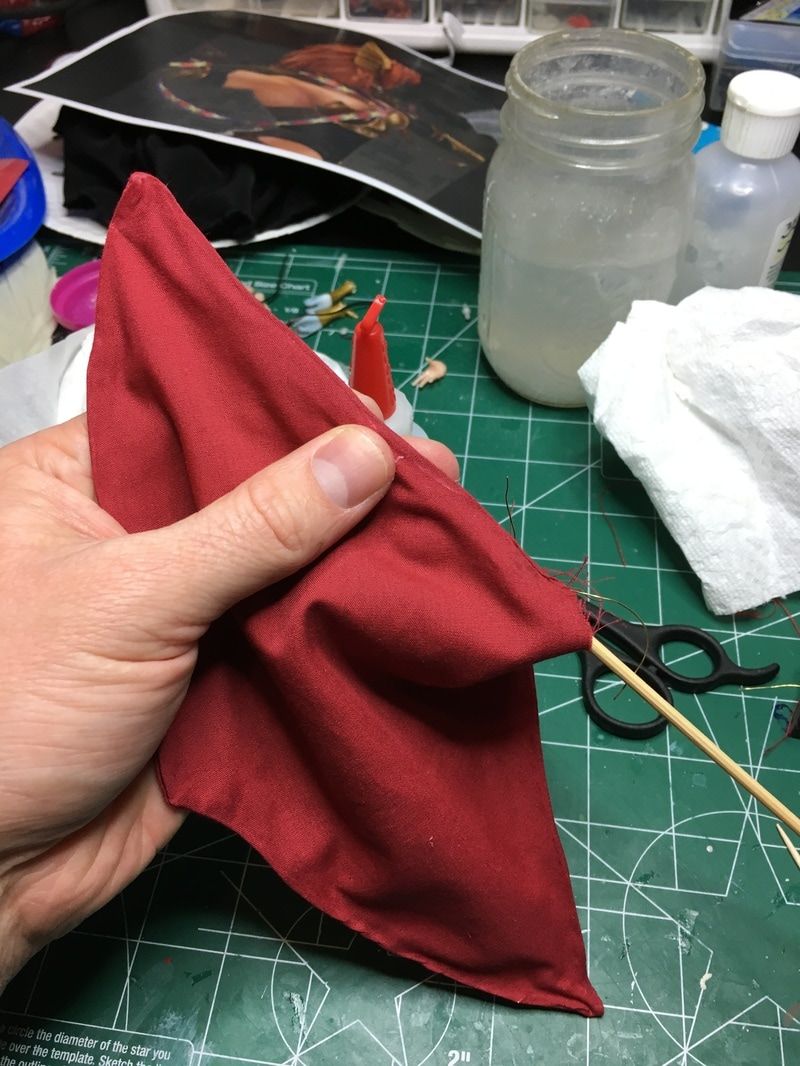
|
|
STEP EIGHT:
|
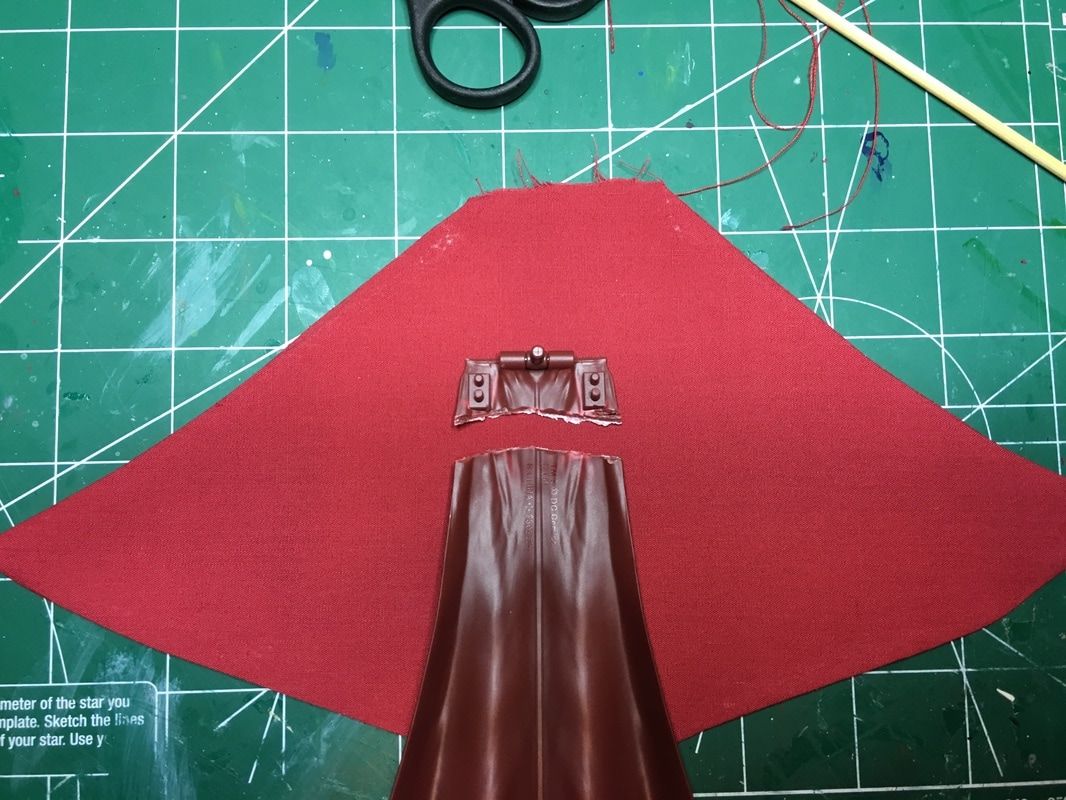
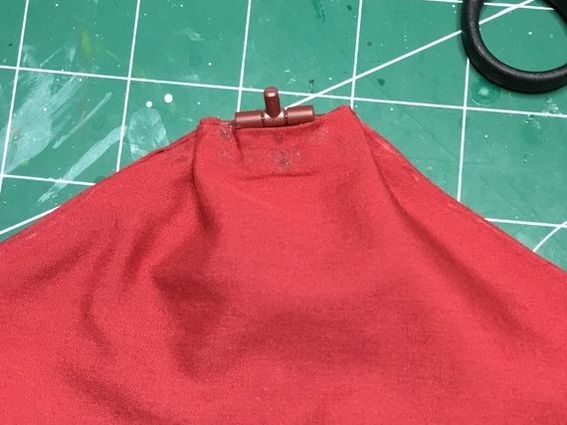
This step is specific to SH Figurarts figures that have a pin and a hinge as part of the plastic cape. I simply cut off the hinge and glue it into the open end of the cape. Make sure to fold in the edges of the fabric so you don't see any fraying and be careful not to use too much glue (see boxer shorts comment above). If you're attaching the cape to another part of the figure you'll have to figure something else out. For Dracula I added a thicker wire in the top edge of the cape and then pinned it directly into the torso.
|
|
|
STEP NINE:
|
This last step is optional but to add a bit more depth I've airbrushed a dark red along the edges and within the folds. It's subtle but can really make a difference.
|
|
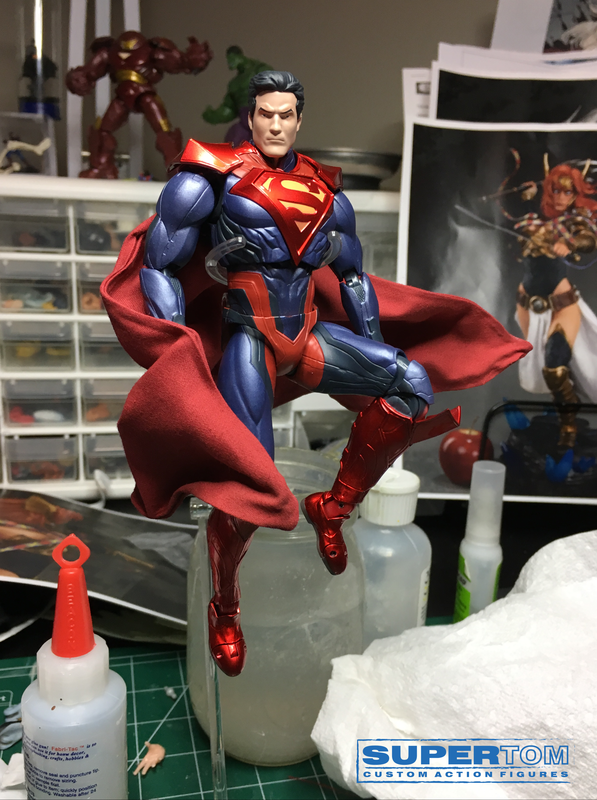
And there you have it! Not only does this cape look in scale but you can now freely pose your figure without that cumbersome, bulky, hunk of plastic getting in the way.
Feel free to hit me up with a question or comment below. Happy customizing! |